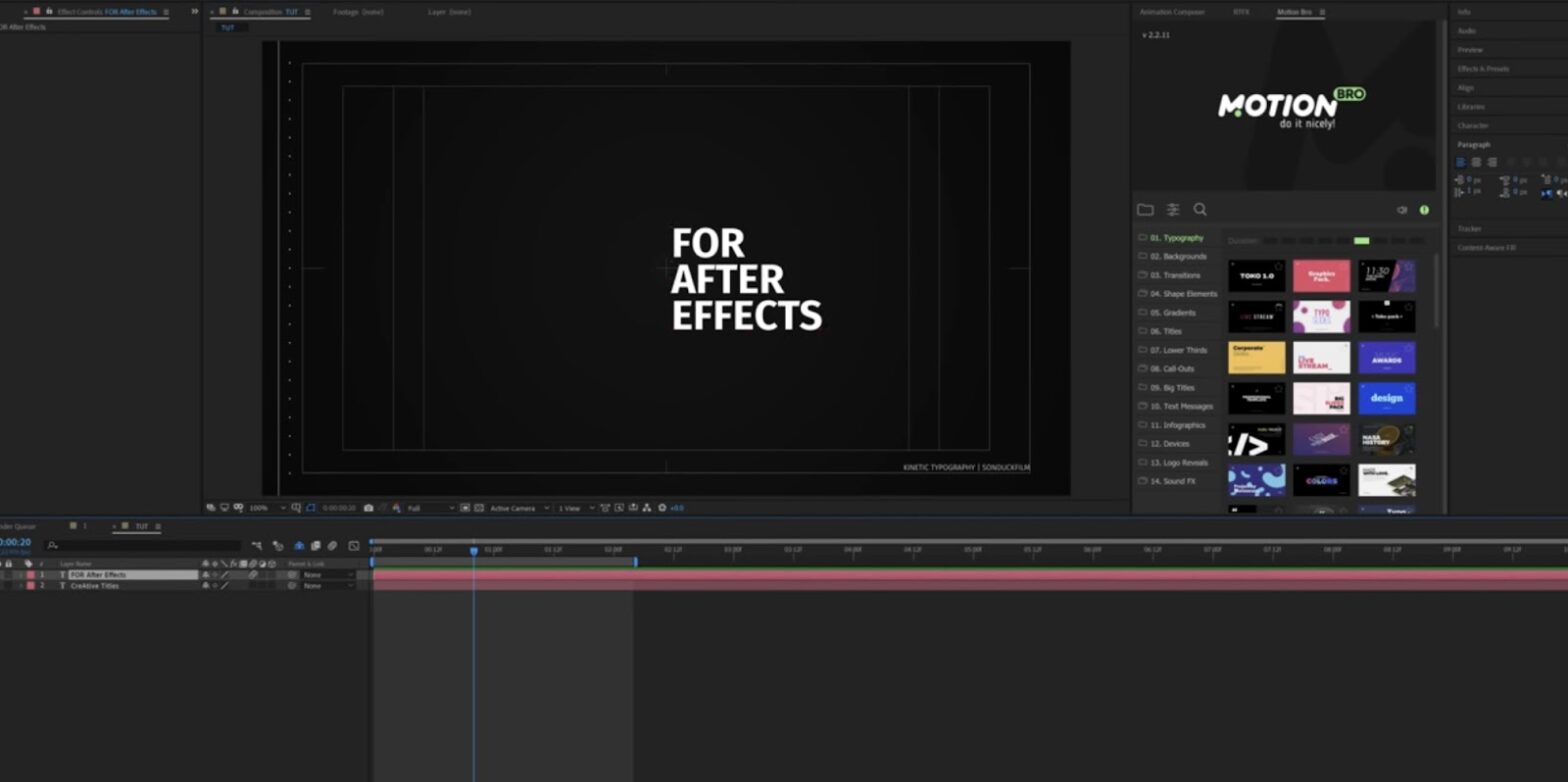
In the world of digital design and video editing, typography animation stands out as a technique that can truly bring a message to life. Adobe After Effects provides a robust platform for animating text, giving it motion and emotion that static words just can’t convey. Let’s dive into the world of After Effects and discover how to make typography not just speak, but dance.
The Magic of Moving Text
The impact of animation in video can’t be overstated. When text comes into play, it’s not merely about what you say, but how you say it. Typography animation transforms static text into an active element of storytelling. It’s about creating an atmosphere, invoking emotions, and capturing the viewer’s attention in a way that static images and words cannot. Whether it’s the gentle fade-in of a heartfelt message or the energetic pop-up of an exciting announcement, animated typography can tell a story all on its own.
First Steps to Animation
Embarking on the journey of animating text in After Effects is like setting sail into a sea of creativity. It can be overwhelming at first glance, but the key is to start simple. Familiarize yourself with the interface. Understand where your tools are and what they do.
Start by creating a new composition, and then a text layer. Play with the basic text settings – change the font, size, color, and position. These initial steps are the building blocks of typography animation. Once you’re comfortable, you can begin to animate these properties to see how your text can grow, shrink, slide, and more.
Tools That Make Your Words Pop
Adobe After Effects comes equipped with a plethora of tools and effects specifically tailored for text animation. The ‘Character’ panel allows for fine-tuning, giving you control over the font, weight, size, kerning, leading, and more – each of which can be animated to create dynamic results.
The ‘Paragraph’ panel deals with the alignment and spacing of your text box, providing control over how your text interacts with the rest of the composition. Beyond this, the ‘Effects & Presets’ panel is a treasure trove of possibilities, with pre-built animations and effects that can be dragged and dropped onto your text layer.
The Key to Keyframes
Keyframes are the cornerstone of any animation in After Effects. They allow you to set the start and endpoints of any transition, defining the path that any aspect of your text will take over time. To create a basic animation, you place a keyframe at the timeline’s start point for the property you want to animate, then move forward in time and adjust that property to its final state.
After Effects then interpolates the values between these keyframes, creating a smooth transition. For example, by setting keyframes for the ‘Position’ property, you can make text slide across the screen. Keyframes on ‘Opacity’ let it fade in or out, creating a sense of softness and subtlety.
Express Yourself with Expressions
Expressions in After Effects are like a secret weapon. They’re a bit of coding magic that allows you to create complex animations quickly. Expressions can control almost any animatable property in After Effects and can be as simple or as complex as you need.
For instance, with just a few clicks, you can add an expression that makes your text bounce in sync with a beat or wiggle randomly for a chaotic effect. The great thing about expressions is that they save you time on keyframing and give your animations a more organic feel.
Tweaking the Timing
Timing is crucial in animation. It’s not just about what moves, but when it moves. The timeline in After Effects is where you’ll spend much of your time, adjusting the timing of your keyframes to get the animation just right. You can stagger the appearance of letters, words, or lines to create rhythm and emphasis.
The ‘Graph Editor’ is a powerful tool within After Effects that allows you to refine the velocity and acceleration of your animations. This is where you can fine-tune the ‘bounce’ of a letter or the ‘ease’ of a fade out, making the motion feel more natural.
Adding Depth with 3D Animation
After Effects also offers 3D text animation capabilities, which can add depth and realism to your projects. By enabling the 3D layer switch on your text, you can move and rotate text in three-dimensional space, add lights, and cast shadows. This can make your text not only move but also live within the environment of your video, interacting with other elements and the virtual camera.
Combining Techniques for Unique Effects
The true power of After Effects comes from combining all these tools and techniques. Use keyframes and expressions together to create animations that are both precise and dynamic. Adjust timing and easing to make the movement of your text feel just right. Layer effects and presets to build up complex animations from simple beginnings.
Practice Makes Perfect
The key to mastering typography animation in After Effects is practice. Begin with the basics, then experiment. Try replicating effects you’ve seen and admired. Over time, with persistence and creativity, you will develop your own style, and your text animations will become as expressive as the words they display.
Resources for Learning
Adobe provides a wealth of tutorials for After Effects, and there’s a vibrant community of creators who share their knowledge online. Websites like YouTube, Skillshare, and LinkedIn Learning offer tutorials for all skill levels, from beginner to advanced.
Wrap Up
Typography animation with After Effects is an invaluable skill in the digital age, where videos dominate the landscape of media and communication. It’s not just about making words move; it’s about making them resonate with the audience. Whether it’s a cinematic title sequence or an educational video, the dynamic element of animated text can elevate the quality of your content. Dive into After Effects, and let your words leap off the screen.


